理解区块属性
区块属性的内涵可能比最初看起来更丰富。一个区块可以拥有任意数量的属性,这些属性定义在区块 block.json 文件的 attributes 属性中。
区块属性本质上是为区块存储数据或内容的变量。用户可以修改和更新其中存储的值。但这些数据或内容从何而来?
属性可以从定义的 default 值或用户输入中获取其值。它也可以用从存储内容中检索到的值来填充。事实上,最后这种方式检索到的值可以来自存储内容中的各种不同位置,并且可以通过多种方式检索。让我们深入探讨。
一个简单区块的结构剖析
考虑这个简单的区块。它有一个 属性,即 content:
"attributes": {
  "content": {
    "type": "string"
  }
}
Edit() 函数实现了一个 RichText 组件,用于显示和更新 content 属性:
import { useBlockProps, RichText } from '@wordpress/block-editor';

export default function Edit( { attributes, setAttributes } ) {
  return (
    <RichText
      { ...useBlockProps() }
      placeholder="Type something here..."
      tagName="div"
      value={ attributes.content }
      onChange={ ( val ) => setAttributes( { content: val } ) }
    />
  );
}
save() 函数执行你期望的操作,仅保存内容:
import { useBlockProps, RichText } from '@wordpress/block-editor';

export default function save( { attributes } ) {
  return (
    <RichText.Content
      { ...useBlockProps.save() }
      tagName="div"
      value={ attributes.content }
    />
  );
}
你将在编辑器中看到:

添加一些内容并保存文章后,你将在网站前端看到:
一切顺利,没有意外。但让我们看看这个区块生成的代码。
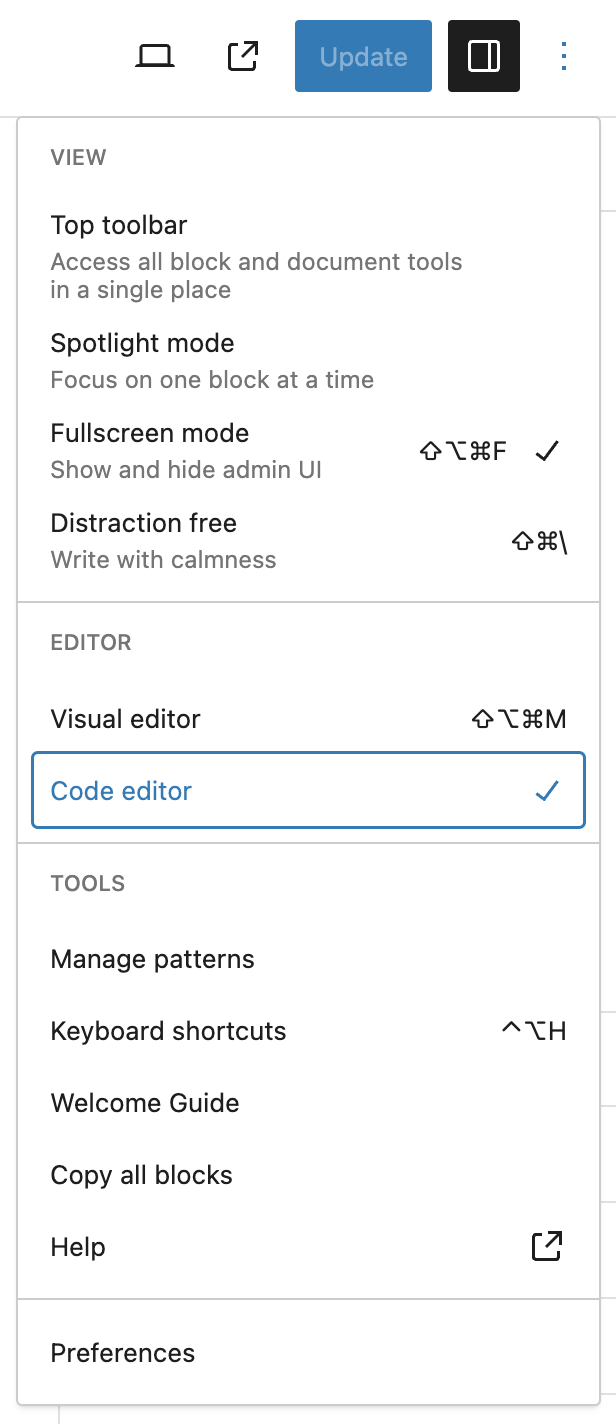
点击编辑器右上角的三个点,选择“代码编辑器”——或使用方便的快捷键组合在可视化编辑器和代码编辑器之间切换。
这是该区块的代码:
<!-- wp:mb/attributes-test {"content":"My cool content!"} -->
<div class="wp-block-mb-attributes-test">My cool content!</div>
<!-- /wp:mb/attributes-test -->
注意这里。你输入到 RichText 组件文本区域中的文本出现了两次——一次在区块分隔符的属性中,然后再次在实际的区块内容中。
你可能认为这有点冗余,事实确实如此!
默认情况下,区块属性存储在区块分隔符中。但情况并非必须如此。只有在属性定义中没有提供 source 属性时,它们才会存储在分隔符中。
source 和 selector 属性
source 和 selector 属性可以协同使用,以定位区块保存内容的一部分,从而可以用从目标区域派生的值填充属性。
让我们看一个例子来了解这两个属性如何协同工作。将 source 和 selector 属性添加到 content 属性的定义中:
"attributes": {
  "content": {
    "type": "string",
    "source": "text",
    "selector": "div"
  }
}
刷新编辑器中的文章并重新检查代码。现在你会看到文本只出现一次,在区块内容中,而不再出现在区块分隔符中:
<!-- wp:mb/attributes-test -->
<div class="wp-block-mb-attributes-test">My even cooler content!</div>
<!-- /wp:mb/attributes-test -->
然而,如果你在 Edit() 函数中添加一个 console.log 语句来查看属性:
console.log( attributes );你会看到 content 属性仍然被填充:

content 属性实际上是从文本中获取其值,正如 source 属性所定义,在 <div> 元素内,正如 selector 属性所定义——因此,当你在编辑器中重新加载文章时,RichText 组件的 value 属性会从保存内容中检索到的 <div> 元素内的文本填充。
确保为属性的 source 属性使用正确的值非常重要。让我们看看原因。
使用 RichText 组件的工具栏将部分文本加粗:

如果你现在检查该区块的代码,你会清楚地看到 <strong> 标签包裹着加粗的文本:
<!-- wp:mb/attributes-test -->
<div class="wp-block-mb-attributes-test">My <strong>even cooler</strong> content!</div>
<!-- /wp:mb/attributes-test -->
保存文章,并确保在前端一切正常。

很好!现在在编辑器中重新加载文章……哦,天哪,这出乎意料!

检查浏览器控制台,你会看到类似这样的错误:
Content generated by `save` function:

<div class="wp-block-mb-attributes-test">My even cooler content!</div>

Content retrieved from post body:

<div class="wp-block-mb-attributes-test">My <strong>even cooler</strong> content!</div>
这是因为你现在在内容中嵌入了标记,即 <strong></strong> 标签,所以它不再是纯文本了。将属性中 source 属性的值从 text 更改为 html:
"attributes": {
  "content": {
    "type": "string",
    "source": "html",
    "selector": "div"
  }
}
现在,当你保存文章然后在编辑器中重新加载它时,一切都会正常。
实际上,text 值的工作方式类似于 HTML 的 textContent 属性,而 html 值的工作方式类似于 HTML 的 innerHTML 属性。
使用 HTML 属性作为源
除了 text 和 html 之外,source 属性还可以取一个 HTML 属性的值。在这种情况下,还必须提供一个额外的 attribute 属性。
在区块的文本中添加一个链接:
如果你现在查看区块的代码,你会看到额外的标记,即带有你选择的 URL 的 <a> 标签及其 href 属性:
<!-- wp:mb/attributes-test -->
<div class="wp-block-mb-attributes-test">My <strong>even cooler</strong> content - powered by <a href="https://wordpress.org">WordPress</a>.</div>
<!-- /wp:mb/attributes-test -->
让我们将该 URL 放入一个区块属性中。
向 block.json 添加一个新属性,并将其命名为 embedded-link:
"embedded-link": {
  "type": "string",
  "source": "attribute",
  "selector": "a",
  "attribute": "href"
}
如前所述,当你指定 attribute 作为 source 的值时,除了 selector 属性外,还必须提供一个 attribute 属性。
因此,这里我们告诉区块的 embedded-link 属性,其源是一个 HTML 属性,它应该选择 <a> 元素,并从该元素的 href 属性中获取其值。
注意:在前面的段落中,区分什么是区块属性和什么是HTML 属性非常重要。不要混淆两者!
确保你的 Edit() 函数中仍有 console.log( attributes ) 语句,并在编辑器中重新加载包含你的区块的文章。
你现在应该看到 attributes 对象有两个属性,content 和 embedded-link:
content包含用户输入到区块中RichText组件中的标记embedded-link包含从<a>元素的href属性中检索到的 URL
{content: 'My <strong>even cooler</strong> content - powered by <a href="https://wordpress.org">WordPress</a>.', embedded-link: 'https://wordpress.org'}应该注意的是,selector 的值可以是任何 HTML 标签或任何可通过 querySelector 查询的 CSS 选择器。因此,如果在区块的标记中 <a> 元素有一个类:
<a class="wp-link" href="https://wordpress.org">WordPress</a>那么你可以这样定位它:
"embedded-link": {
  "type": "string",
  "source": "attribute",
  "selector": ".wp-link",
  "attribute": "href"
}
同样,如果 <a> 元素有一个 name 属性:
<a name="wp-link" href="https://wordpress.org">WordPress</a>那么可以这样定位它:
"embedded-link": {
  "type": "string",
  "source": "attribute",
  "selector": "a[name='wp-link']",
  "attribute": "href"
}
这对于定位单个内容项来说都很好,但如果你想获取多个项呢?例如,如果你想从所有 <a> 元素中获取所有 URL 怎么办?
使用 query 作为源
目前只有一个 <a> 元素,所以在区块内容中添加一个额外的链接:
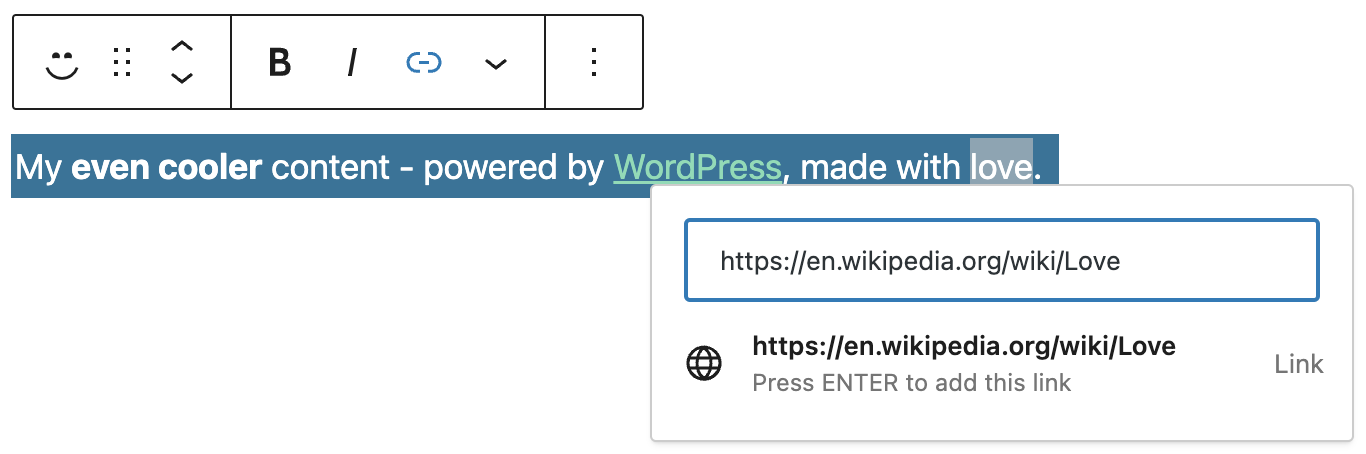
现在你的区块代码包含两个链接,看起来像这样:
<!-- wp:mb/attributes-test -->
<div class="wp-block-mb-attributes-test">My <strong>even cooler</strong> content - powered by <a href="https://wordpress.org">WordPress</a>, made with <a href="https://en.wikipedia.org/wiki/Love">love</a>.</div>
<!-- /wp:mb/attributes-test -->
将 block.json 中的 embedded-link 属性更改为 embedded-links,因为这对于存储多个值更有意义。定义如下:
"embedded-links": {
  "type": "array",
  "source": "query",
  "selector": "a",
  "query": {
    "link": {
      "type": "string",
      "source": "attribute",
      "attribute": "href"
    }
  }
}
这里我们将 type 属性的值更改为 array,因为我们将存储多个值。我们还将 source 更改为 query,而 selector 保持为 a。
正如当 source 设置为 attribute 时必须定义 attribute 属性一样,当 source 设置为 query 时,你必须定义一个 query 属性。
查询产生一个对象数组,你需要在 query 属性的定义中定义对象的结构。这里,数组中的每个对象将只有一个属性,即 link,它将存储一个字符串,并将使用每个迭代到的 <a> 元素的 href 属性作为其源。
刷新编辑器中的文章,假设你的 Edit() 函数中仍有 console.log( attributes ) 语句,如果你查看浏览器控制台,你应该看到两个 URL 都已被捕获。
embedded-links: Array(2)
  0: {link: 'https://wordpress.org'}
  1: {link: 'https://en.wikipedia.org/wiki/Love'}
让我们也尝试获取链接的文本内容。向查询添加一个 link-content 属性:
"embedded-links": {
  "type": "array",
  "source": "query",
  "selector": "a",
  "query": {
    "link": {
      "type": "string",
      "source": "attribute",
      "attribute": "href"
    },
    "link-content": {
      "type": "string",
      "source": "text"
    }
  }
}
你应该在控制台中看到类似这样的内容:
embedded-links: Array(2)
  0: {
    link: 'https://wordpress.org'.
    link-content: "WordPress"
  }
  1: {
    link: 'https://en.wikipedia.org/wiki/Love',
    link-content: "love"
  }
结论
属性为用户提供了一种更改区块内容和其他数据的方法。如果你可以从区块的保存内容中检索属性值,那么你应该通过定义一个 source 属性来指定你想从何处检索值。
然而,并非所有值都可以从内容中检索。将属性存储在区块的分隔符中仍然是完全合法的。存储在分隔符中的值通常来自你为用户提供的字段,例如出现在设置侧边栏中的 <InspectorControls> 组件内的字段。
有关使用属性的完整详细信息,请参阅区块编辑器手册中的属性页面。